Printer
The instructions below will walk you through the process of launching a simple printer workflow using the Fuzzball workflow catalog. The workflow catalog will help you generate, validate, and submit a Fuzzfile representing the printer workflow. This workflow uses a public Alpine container from Dockerhub to print 1 integer every second for 5 minutes. This simple workflow will help familiarize you with the Fuzzball's real-time logging feature, and can also be used to experiment with Fuzzball's in-job terminal.
You can run this workflow either through the web UI or the CLI.
Please select either the web UI or CLI tab to see the appropriate instructions for your environment.
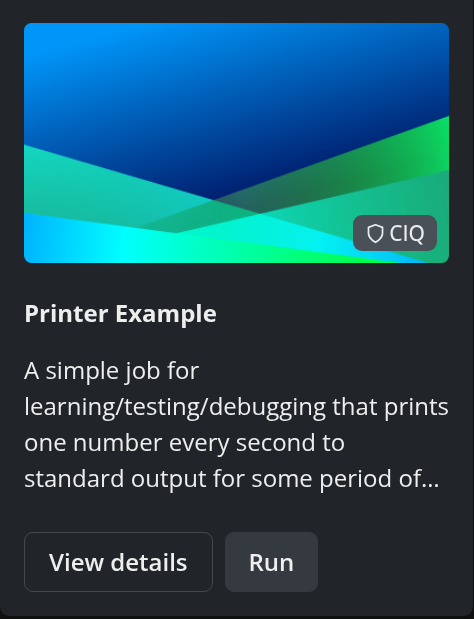
If you click "Workflow Catalog", you will see a page of workflow templates you use to create fuzzfiles and launch workflows. Find the "Printer Example" tile with the CIQ badge and click "Run".
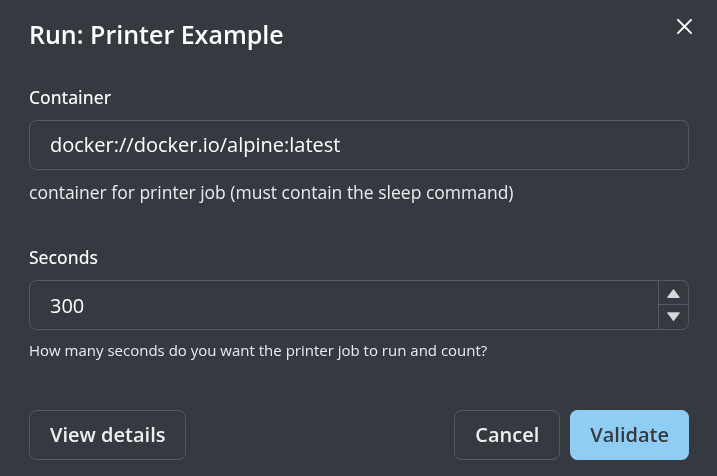
You will be prompted with a pop-up showing template parameters which you can modify. If you'd like to accept the default values, you can click "Validate" which will validate the Fuzzfile generated using the input specified.
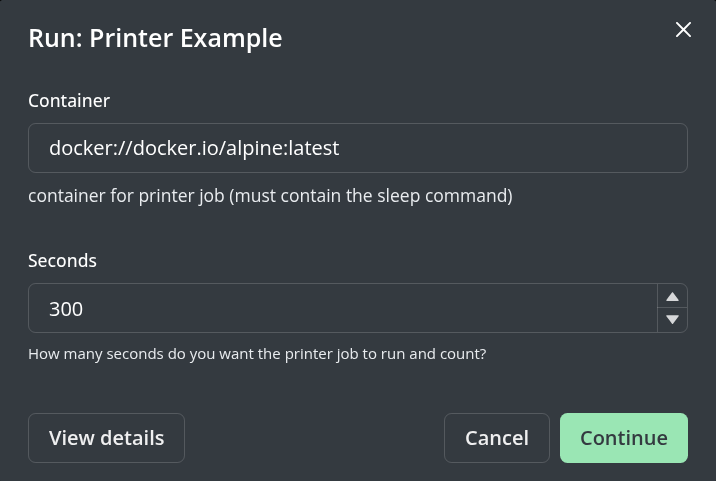
You can proceed to launching the job by clicking "Continue".
You will be prompted to provide an optional descriptive name for your workflow.
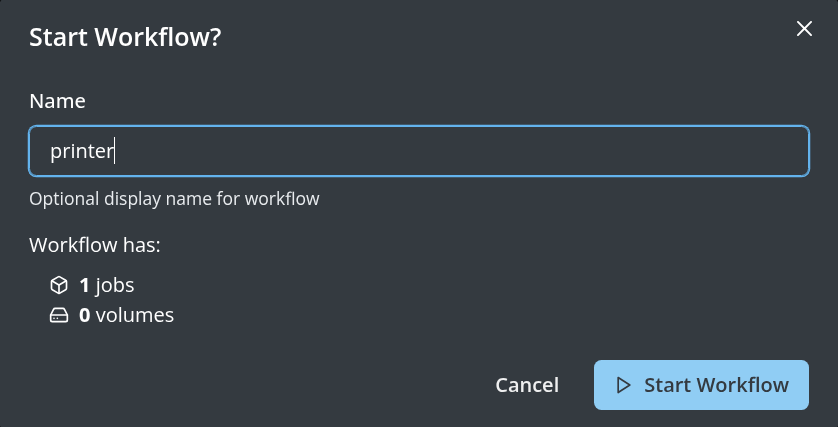
Now you can click on "Start Workflow" in the lower right corner of the dialog box and your workflow will be submitted. If you click "Go to Status" you can view the workflow status page. The screenshot below shows the status page for a printer workflow submission.
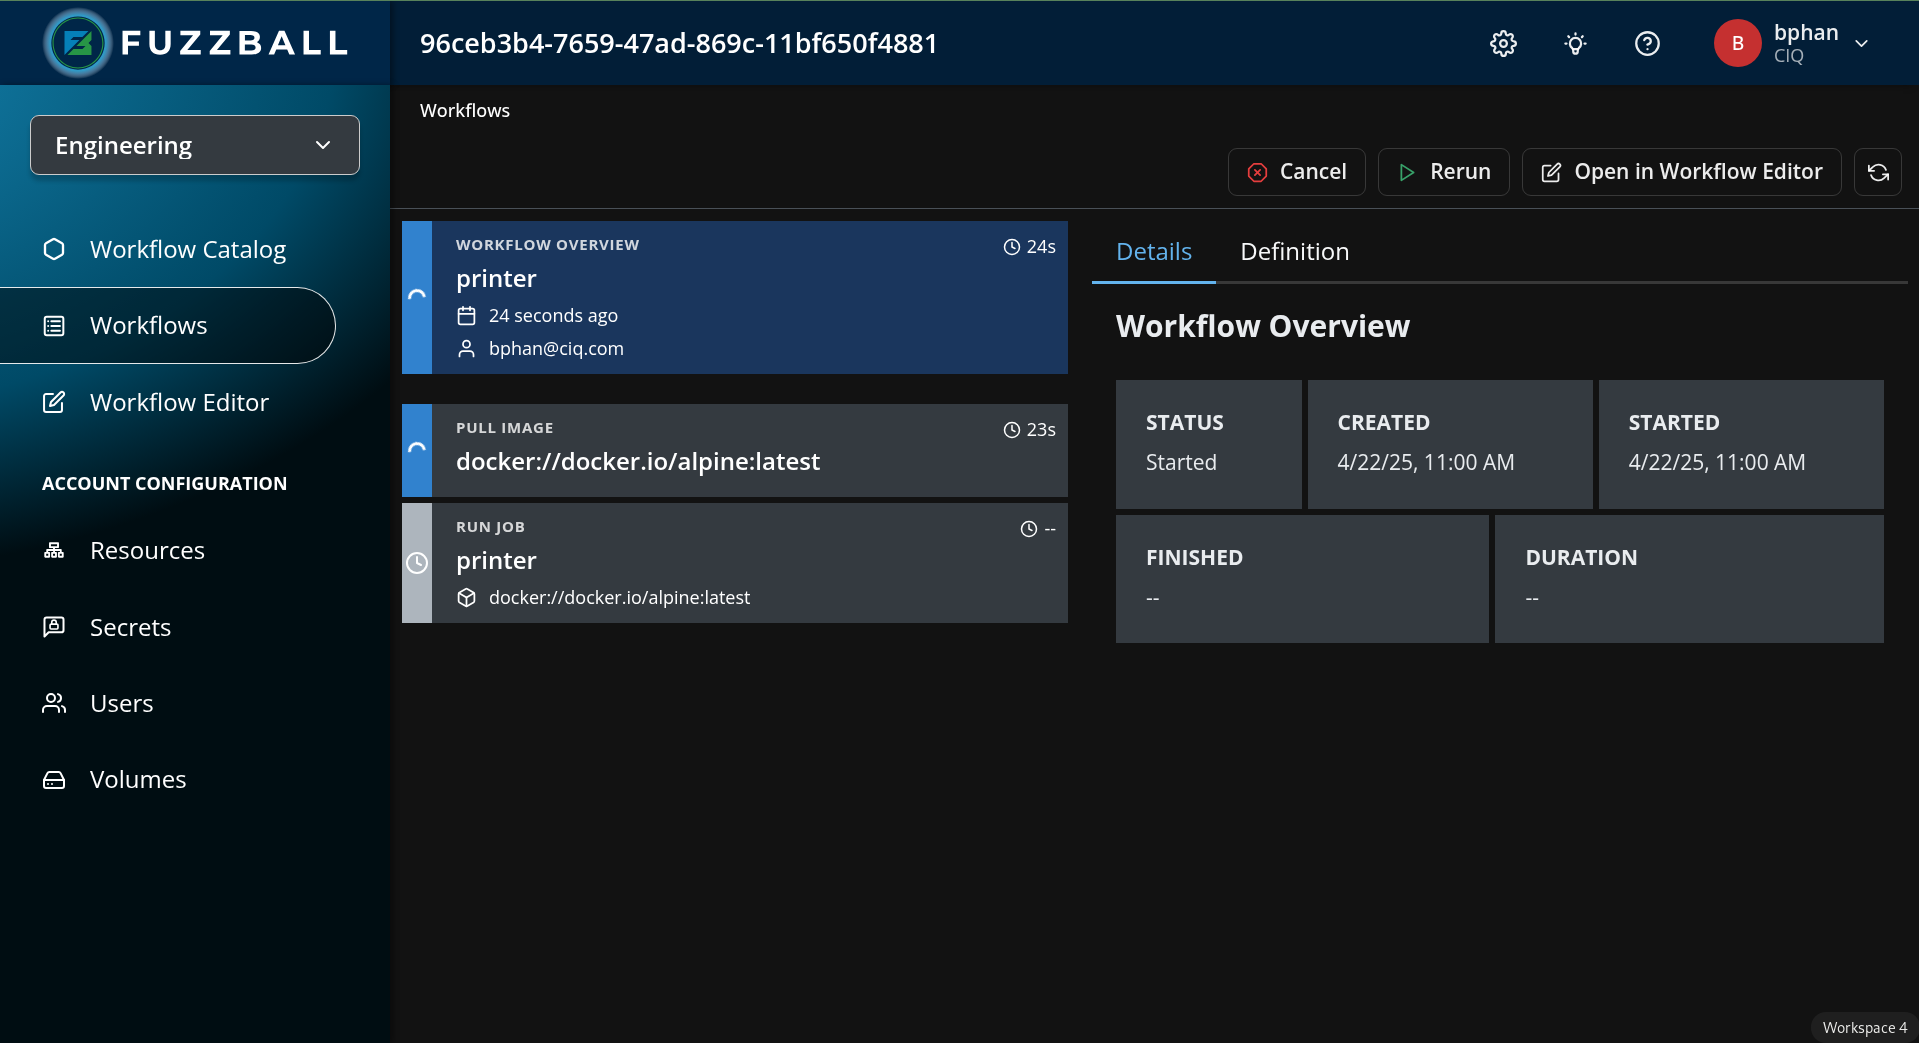
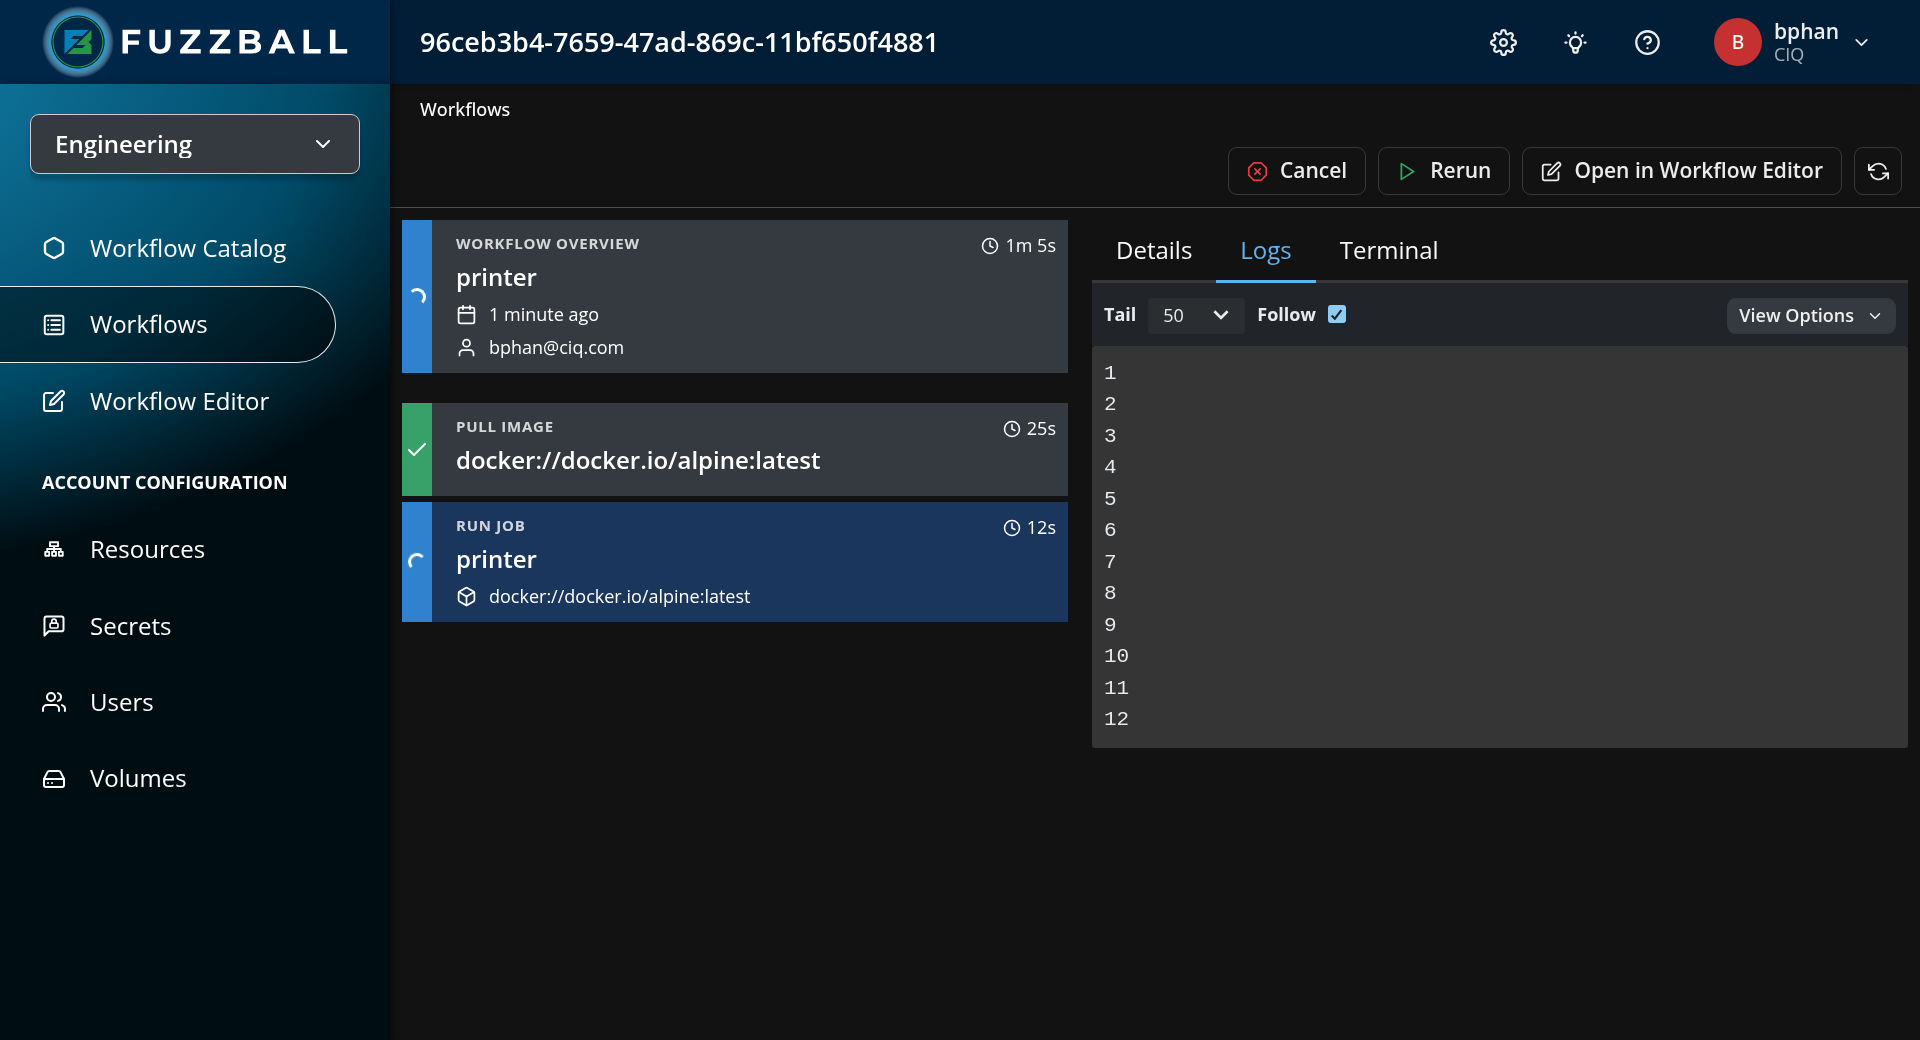
To retrieve logs produced by this workflow, select the printer job within the workflow, and
click the "Logs" option on the right.
To run this workflow through the CLI you will need access to the Fuzzball CLI. You can install it using the Fuzzball CLI installation instructions.
First, you can create a values file values.yaml to populate the printer example workflow template
using the command below. You can modify the parameters to your desired values or use the defaults
below.
$ cat >values.yaml<<EOF
values:
  - name: "Container"
    display_name: "container for printer job (must contain the sleep command)"
    string_value: "docker://docker.io/alpine:latest"
  - name: "Seconds"
    display_name: "How many seconds do you want the printer job to run and count?"
    uint_value: 300
EOF
Next, you will need to find the workflow template ID. The command below lists workflow templates
provided by CIQ. The ID of the printer example workflow template shown in the output below is
00000010-aaaa-bbbb-cccc-dddddddddddd.
$ fuzzball workflow-template list -f "(provider: \"CIQ\")"
NAME                           | ID                                   | OWNER    | PROVIDER | UPDATETIME            | DISABLED
Hello World                    | 00000001-aaaa-bbbb-cccc-dddddddddddd | PROVIDER | CIQ      | 2025-03-06 05:00:00PM | false
Jupyter Notebook               | 00000002-aaaa-bbbb-cccc-dddddddddddd | PROVIDER | CIQ      | 2025-03-06 05:00:00PM | false
Jupyter Notebook (VDI)         | 00000003-aaaa-bbbb-cccc-dddddddddddd | PROVIDER | CIQ      | 2025-03-06 05:00:00PM | false
ParaView                       | 00000004-aaaa-bbbb-cccc-dddddddddddd | PROVIDER | CIQ      | 2025-03-06 05:00:00PM | false
Xfce Desktop Environment       | 00000005-aaaa-bbbb-cccc-dddddddddddd | PROVIDER | CIQ      | 2025-03-06 05:00:00PM | false
LAMMPS (CPU)                   | 00000006-aaaa-bbbb-cccc-dddddddddddd | PROVIDER | CIQ      | 2025-03-06 05:00:00PM | false
LAMMPS (GPU)                   | 00000007-aaaa-bbbb-cccc-dddddddddddd | PROVIDER | CIQ      | 2025-03-06 05:00:00PM | false
BLAST                          | 00000008-aaaa-bbbb-cccc-dddddddddddd | PROVIDER | CIQ      | 2025-03-06 05:00:00PM | false
Stable Diffusion Text to Image | 00000009-aaaa-bbbb-cccc-dddddddddddd | PROVIDER | CIQ      | 2025-03-06 05:00:00PM | false  Printer Example                | 00000010-aaaa-bbbb-cccc-dddddddddddd | PROVIDER | CIQ      | 2025-03-06 05:00:00PM | false
You can generate a Fuzzfile using the workflow ID and the values file (values.yaml) we created in the first step using the command below.
$ fuzzball workflow-template render-template 00000010-aaaa-bbbb-cccc-dddddddddddd values.yaml > printer.fz
You can start start this workflow using the CLI by running the following command:
$ fuzzball workflow start printer.fz
Workflow "065e8665-f025-4247-8783-d4abdb7723be" started.
You can monitor the workflow's status by running the following command:
$ fuzzball workflow describe <workflow UUID>
Name:      printer.yaml
Email:     bphan@ciq.co
UserId:    e554e134-bd2d-455b-896e-bc24d8d9f81e
Status:    STAGE_STATUS_STARTED
Created:   2024-06-27 01:56:58PM
Started:   2024-06-27 01:56:58PM
Finished:  N/A
Error:


Stages:
KIND     | STATUS   | NAME                                 | STARTED               | FINISHED
Workflow | Started  | 42bc8d9b-6b20-4b8a-824a-b83cdc610a1c | 2024-06-27 01:56:58PM | N/A
Image    | Finished | docker://alpine:latest               | 2024-06-27 01:56:59PM | 2024-06-27 01:57:14PM
Job      | Started  | printer                              | 2024-06-27 01:57:28PM | N/A
You can view outputs logged by the workflow, by executing the following command:
$ fuzzball workflow log <workflow UUID> printer
1
2
3
4
...