Deployment
After fulfilling the prerequisites listed in the requirements doc, you are ready to perform a deployment in your cloud environment.
Please select a supported cloud provider.
Deployment Modes: Marketplace vs. Non-Marketplace
Fuzzball on AWS supports two deployment modes:
- Marketplace mode (default): Uses AWS Marketplace Elastic Container Registry (ECR) for images. This mode enables usage-based billing through AWS Marketplace metering, and it is recommended for most installations.
- Non-Marketplace mode (opt-in): Populates a customer-owned ECR with images from CIQ Depot or offline tarballs, and disables Marketplace metering. This method is required for restricted AWS partitions, air-gapped environments, or locked-down accounts.
Quick Comparison
| Aspect | Marketplace (default) | Non-Marketplace |
|---|---|---|
| Image source | AWS Marketplace ECR | Customer-owned ECR |
| Billing | AWS Marketplace metering | Separate billing (contact CIQ) |
| Activation | Default (no extra flags) | --depot-user + --depot-access-token or --container-images-dir |
| Update requirements | None | Depot credentials or tarballs for the new version |
| Mode switching | Not allowed (destroy and redeploy) | Not allowed (destroy and redeploy) |
Once deployed, a stack's mode is immutable; updates preserve the existing mode and reject any attempt to switch between Marketplace and non-Marketplace modes. See the updating documentation for mode preservation details.
This guide covers both deployment methods. Choose the correct method for your environment.
Instructions
CLICK TO EXPAND: Instructions for a Marketplace Deployment
If there are any left-over stacks or resources from a previous deployment they may interfere with
your ability to deploy a fresh Fuzzball cluster. Please make sure that all stacks, nested stacks,
and resources from previous deployments have been fully and successfully deleted before initiating a
new one. You can use the following command to forcibly remove a previous deployment's resources
after destroying its CloudFormation stack if necessary (the command prompts you to select the
deployment, or accepts --stack-name):
$ fuzzball cluster aws cleanup
To remove leftovers from all previous Fuzzball deployments in the region — including legacy
resources that predate per-deployment tagging — pass --all. Only do this if no Fuzzball cluster
you want to keep exists in the account and region:
$ fuzzball cluster aws cleanup --all
Subscribe through the Marketplace
Make sure you are logged into your AWS account as the fuzzballAdmin IAM user
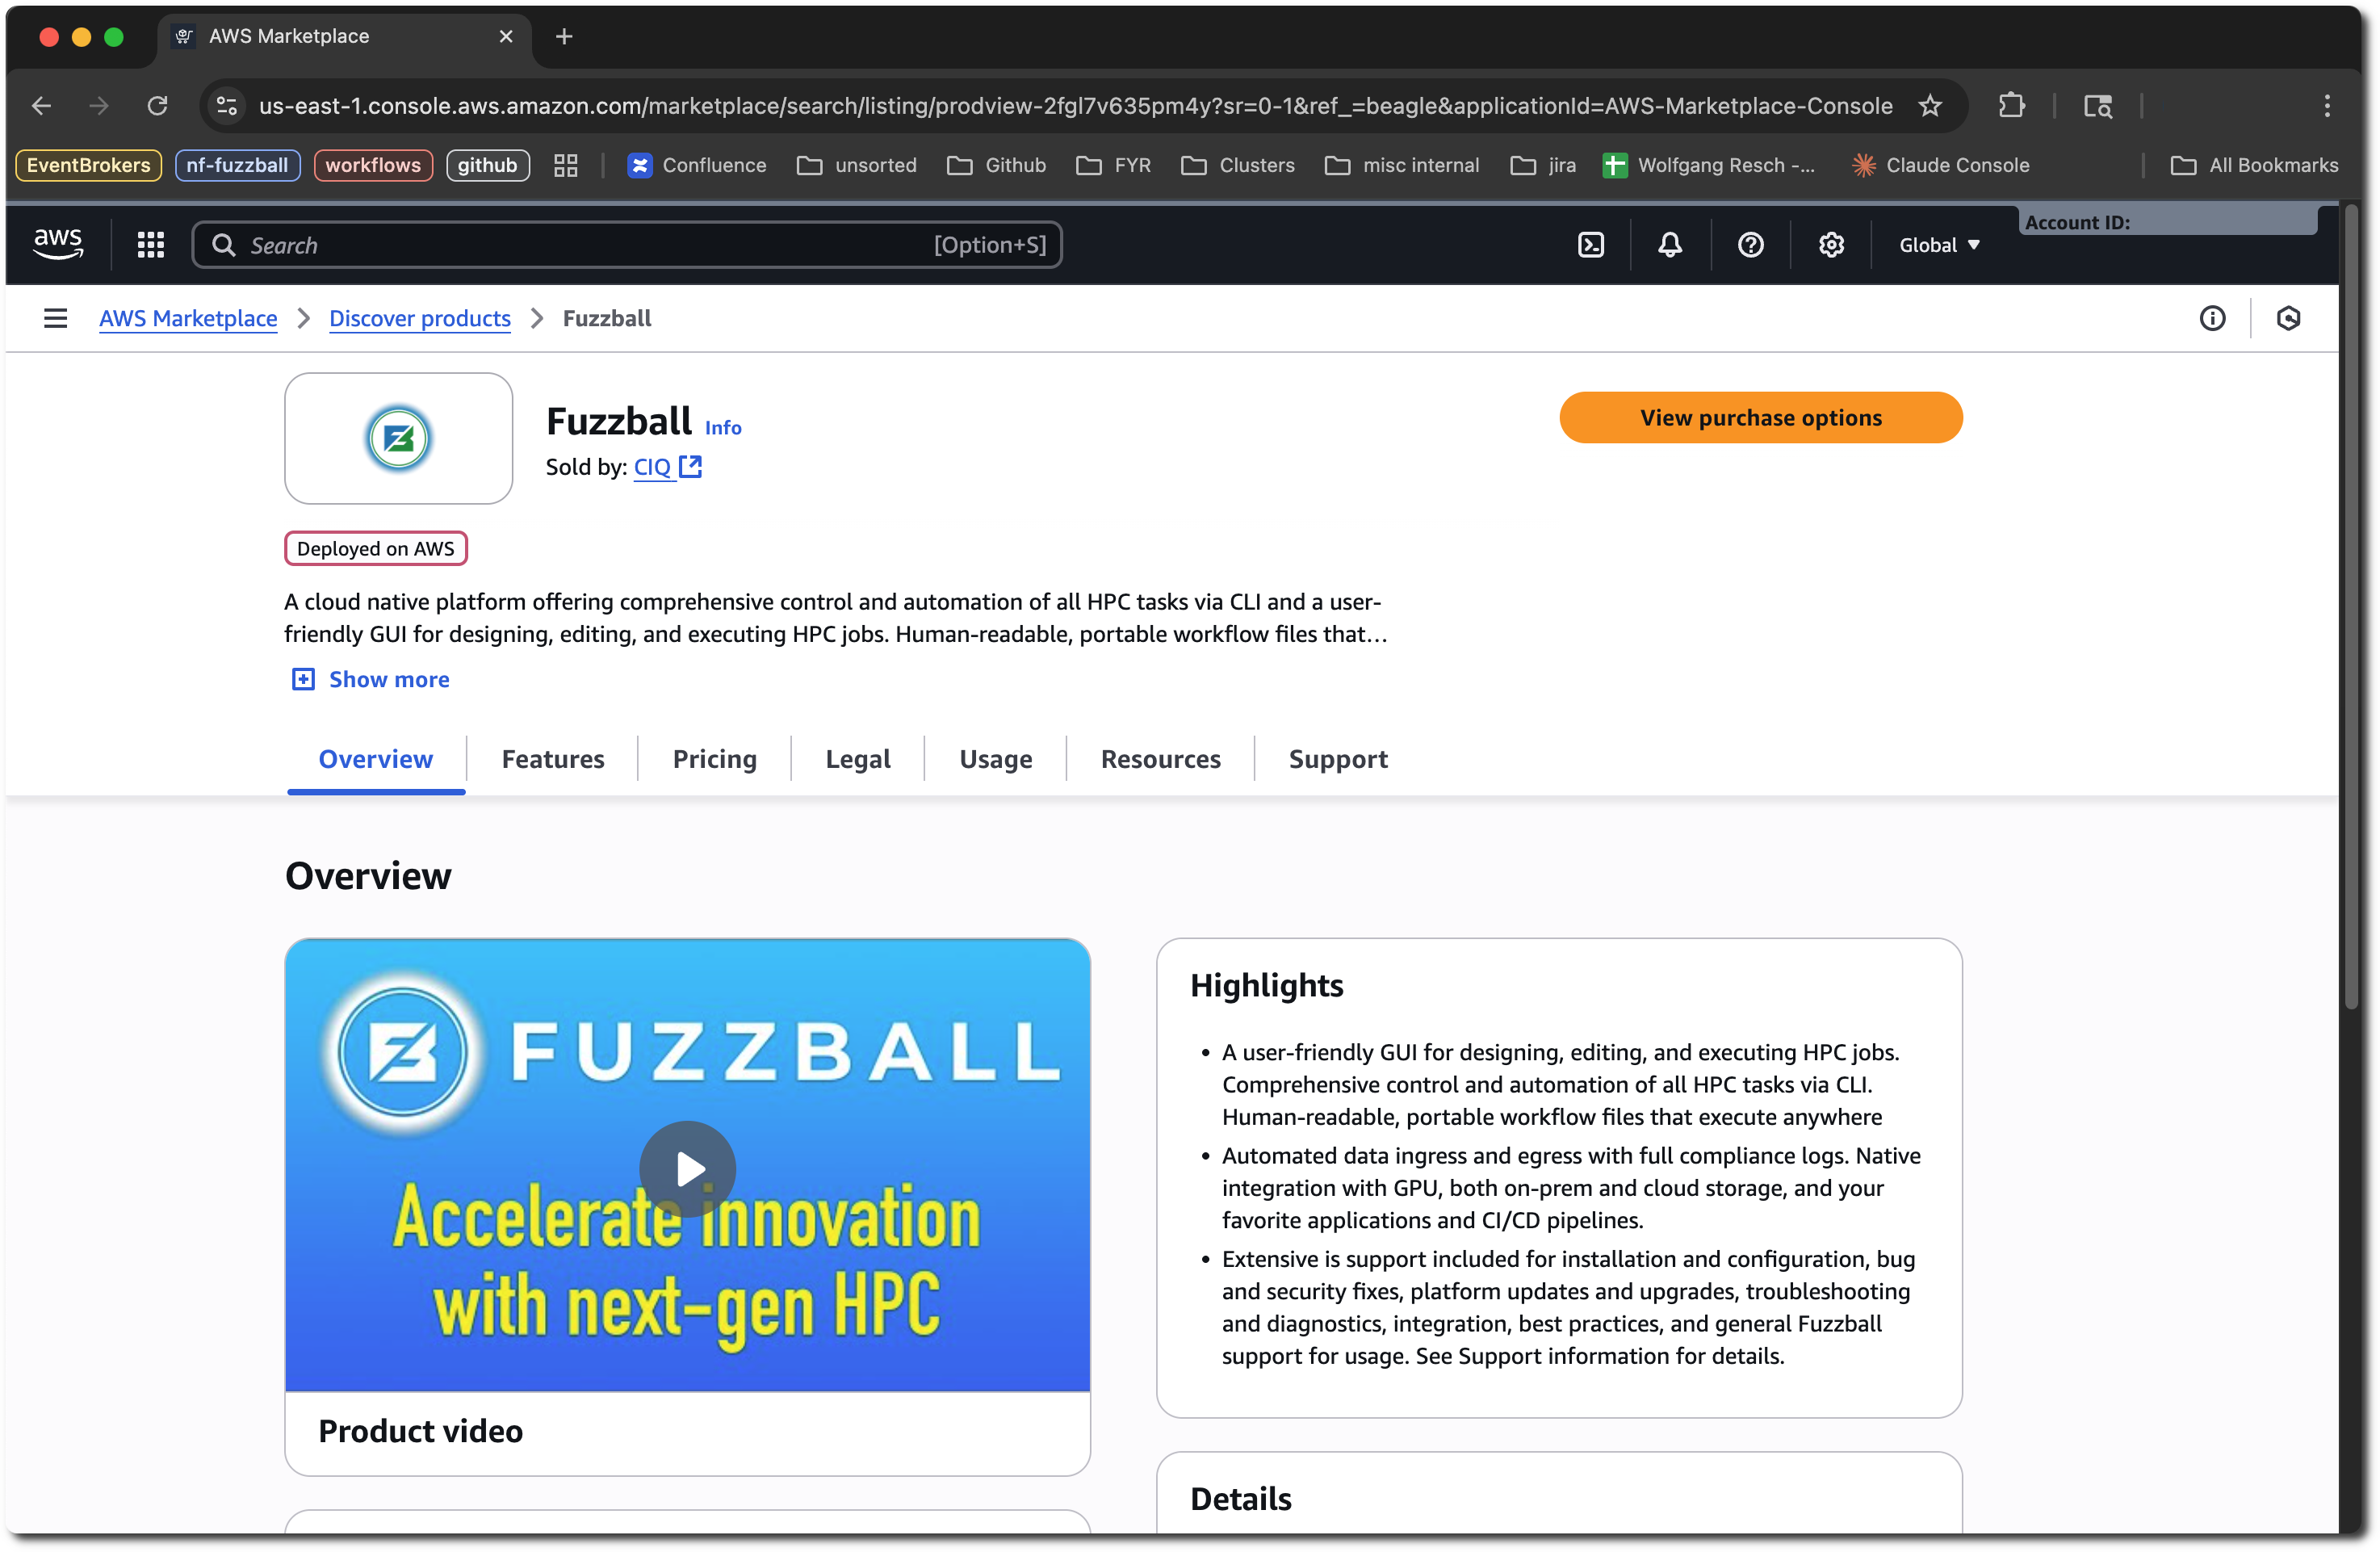
and navigate to the Fuzzball Cloud Marketplace
listing. Review
the information paying special attention to the pricing options. When you are
ready to subscribe, press the "View Purchase Options" button.
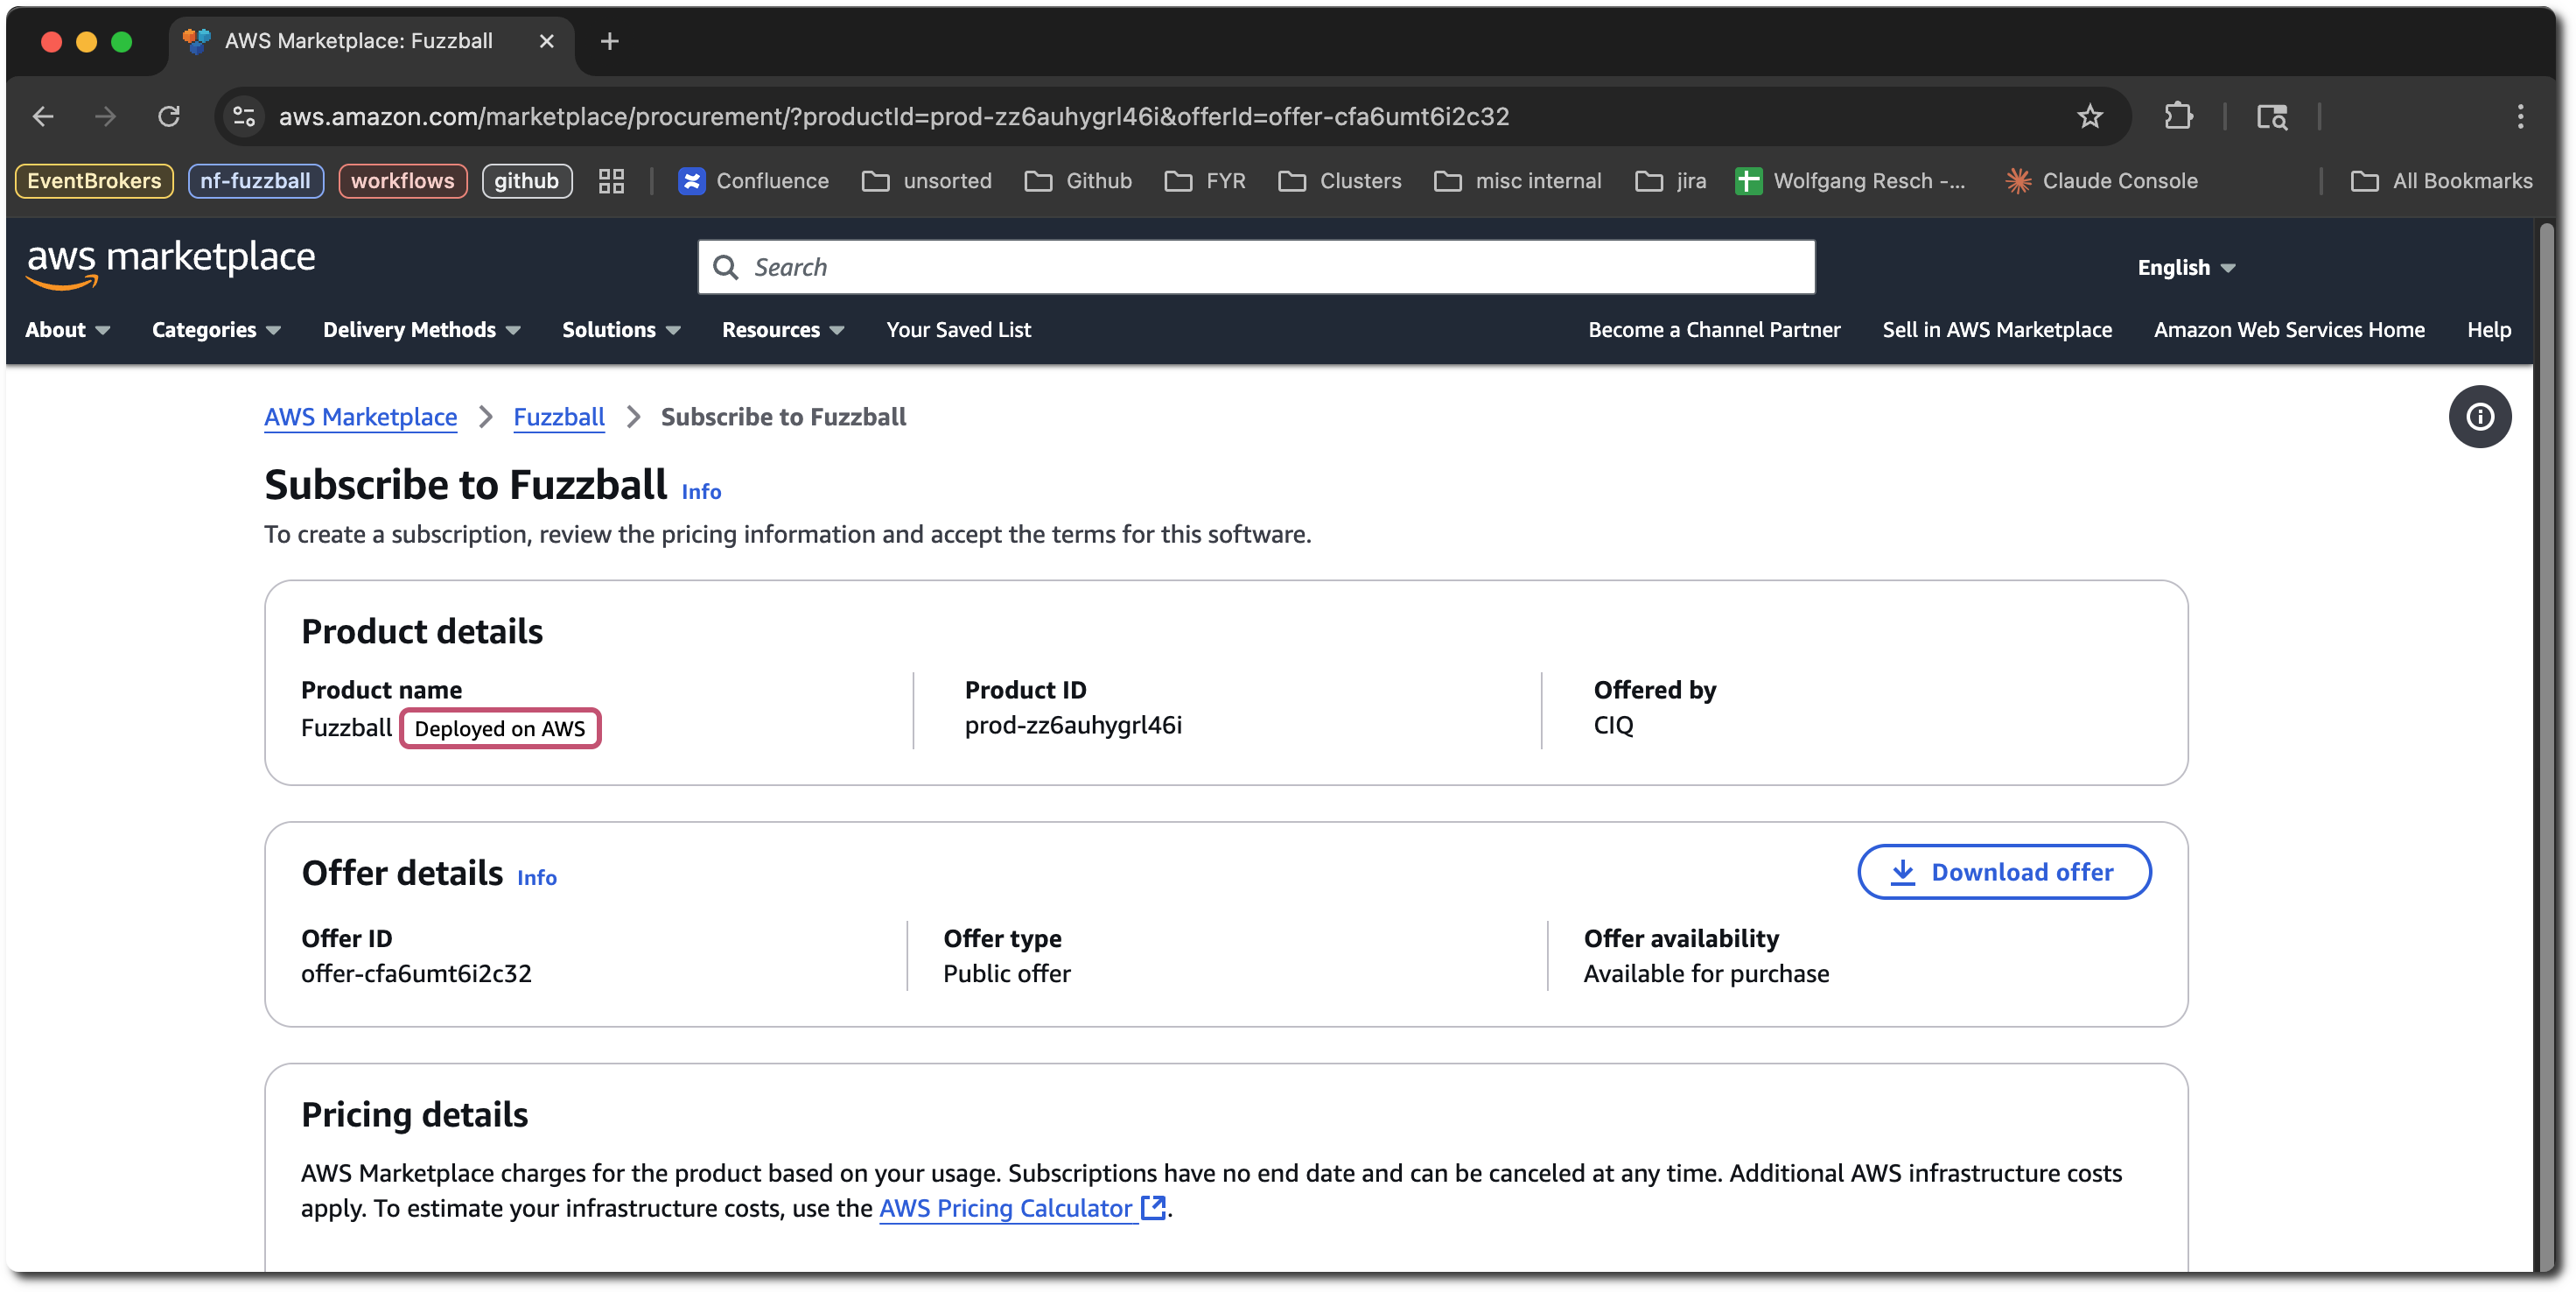
On the subscription page you can accept the public or private offer
You can deploy and manage Fuzzball on AWS directly from the Fuzzball CLI using the fuzzball cluster aws subcommands.
Preflight checks
Before deploying, run the preflight check to verify that required AWS service-linked IAM roles exist and review quota guidance:
$ fuzzball cluster aws preflight
Use --provision-roles to automatically create any missing roles:
$ fuzzball cluster aws preflight --provision-roles
Deploy
Deploy a new cluster interactively:
$ fuzzball cluster aws deploy
For non-interactive deployments, supply all parameters as flags. The --cluster-admin-arns flag
is required and accepts a comma-separated list of IAM ARNs that will be granted admin access to
the EKS cluster. You can mix user ARNs and role ARNs in a single value:
$ fuzzball cluster aws deploy \
  --domain "$DOMAIN" \
  --organization-admin "admin@example.com" \
  --cluster-admin-arns "arn:aws:iam::123456789012:user/fuzzballAdmin" \
  --instance-types "t3a.2xlarge,p3.2xlarge" \
  --non-interactive
For SSO role ARNs, use the IAM role ARN format (arn:aws:iam::<account>:role/<name>), not the
STS assumed-role ARN returned by aws sts get-caller-identity
(arn:aws:sts::<account>:assumed-role/<role>/<session>). The assumed-role format will not work
because EKS maps access using the underlying IAM role, not the temporary STS session.
The deployment creates its own VPC. Pass --vpc-cidr to choose the VPC's CIDR block (for
example --vpc-cidr 172.16.0.0/16) when the default range would overlap existing networks you
plan to peer or route to.
Preflight checks run automatically before deploy. Pass --skip-preflight to bypass them.
IAM Permissions Boundaries
Some AWS accounts deny iam:CreateRole unless new roles carry a specific IAM permissions
boundary — for
example, an SCP enforcing a RequireBoundaryOnNewRoles guardrail. If your account has this
requirement, pass --permissions-boundary-arn on deploy or update to attach the required
boundary to every IAM role Fuzzball creates (both the CloudFormation-native roles in the stack
template and the additional roles created by the in-stack Pulumi runner).
The ARN must reference an IAM managed policy (customer-managed or AWS-managed). Role ARNs, user ARNs, and inline-policy references are not accepted — AWS will reject the deployment with a CloudFormation/IAM error.
$ fuzzball cluster aws deploy \
  --domain "$DOMAIN" \
  --organization-admin "admin@example.com" \
  --cluster-admin-arns "arn:aws:iam::123456789012:user/fuzzballAdmin" \
  --permissions-boundary-arn "arn:aws:iam::123456789012:policy/my-boundary-policy" \
  --non-interactive
Behavior by command and flag state:
| Command | Flag state | Effect |
|---|---|---|
deploy | omitted | No boundary is attached to any role. |
deploy | supplied | Every new role is created with the boundary attached. |
update | omitted | The boundary already recorded on the stack (if any) is reused; existing roles are not changed. |
update | supplied | The boundary is set or replaced on every stack-managed role in place. Use this to retrofit a boundary onto an existing deployment, or to rotate to a new boundary policy. |
Roles that aren't managed by this stack — for example, roles you created in the account outside of the deployment — are never modified.
Clearing a previously-set boundary is intentionally unsupported by the CLI. Three layers enforce this:
- An empty
--permissions-boundary-arnonupdateis treated as "preserve the recorded value," never "clear." - The interactive update editor refuses to clear
PermissionsBoundaryArnwhen an existing value is set, keeping the existing value instead. - The in-stack Pulumi runner's IAM policy grants
iam:PutRolePermissionsBoundarybut notiam:DeleteRolePermissionsBoundary, so any attempt that bypasses the CLI and reaches the Pulumi-managed roles will fail withAccessDenied.
CloudFormation-managed roles in the stack template would in theory be clearable via the deployer's own credentials if a user bypassed both CLI paths (for example, by editing the CFN stack directly in the AWS console), so the IAM-level safety net only fully covers Pulumi-managed roles. Use a dedicated change request to remove a boundary if that's ever needed.
CLICK TO EXPAND: Instructions for a non-Marketplace Deployment
If there are any left-over stacks or resources from a previous deployment they may interfere with
your ability to deploy a fresh Fuzzball cluster. Please make sure that all stacks, nested stacks,
and resources from previous deployments have been fully and successfully deleted before initiating a
new one. You can use the following command to forcibly remove a previous deployment's resources
after destroying its CloudFormation stack if necessary (the command prompts you to select the
deployment, or accepts --stack-name):
$ fuzzball cluster aws cleanup
To remove leftovers from all previous Fuzzball deployments in the region — including legacy
resources that predate per-deployment tagging — pass --all. Only do this if no Fuzzball cluster
you want to keep exists in the account and region:
$ fuzzball cluster aws cleanup --all
By default, Fuzzball deploys on AWS using container images pulled from the AWS Marketplace ECR registry. This Marketplace mode enables usage-based billing through AWS Marketplace metering and is the recommended path for most customers.
However, some deployment scenarios require an alternative approach, including:
- Restricted AWS partitions (GovCloud, Secret, Top Secret) that cannot reach the commercial Marketplace registry
- Air-gapped or disconnected environments with no outbound internet access
- Locked-down accounts where cross-account ECR pulls are blocked by organizational policy
- Internal CIQ installations or pre-production testing environments
For these cases, Fuzzball supports non-Marketplace mode, which populates a customer-owned ECR in your AWS account with Fuzzball images and disables Marketplace metering.
Deployment Modes Comparison
| Aspect | Marketplace Mode (default) | Non-Marketplace Mode |
|---|---|---|
| Image source | AWS Marketplace ECR (709825985650.dkr.ecr.us-east-1.amazonaws.com) | Customer-owned ECR in deployment account |
| Billing | Usage-based via AWS Marketplace | Billed separately (contact CIQ) |
| Image hydration | Not required (pull from Marketplace) | Required (from CIQ Depot or offline tarballs) |
| Cross-account access | CloudFormation grants cross-account pull from Marketplace ECR | All images live in deployment account |
| Update requirements | None (Marketplace always available) | Depot credentials or updated tarballs |
| Mode switching after deployment | Not allowed | Not allowed |
Understanding What Happens During a non-Marketplace Deployment
When you deploy in non-Marketplace mode, the Fuzzball CLI:
- Creates ECR repositories in your AWS account for every Fuzzball image, prefixed with
ciq/(e.g.,ciq/fuzzball-orchestrate,ciq/aws-pulumi-runner) - Tags each repository with
ciq:product=fuzzballfor resource discovery - Pulls or loads images:
- Online mode: Authenticates with CIQ Depot using your credentials and pulls each image
- Offline mode: Loads each
<image>.tarDocker-archive file from--container-images-dir
- Retags and pushes every image to the corresponding ECR repository in your account
- Mirrors Helm charts from Depot into your account's ECR as OCI artifacts (under the
ciq/helm/repositories), at the same Fuzzball version tag - Sets CloudFormation parameters:
MarketplaceBillingEnabled→"false"EngRegistryAccountId→ your AWS account IDEngRegistryRegion→ your deployment region
The CloudFormation stack and Pulumi runner then reference your account's ECR for all subsequent image pulls.
Activating Non-Marketplace Mode
Non-Marketplace mode is activated automatically when you provide any of the following during
fuzzball cluster aws deploy:
Option 1: CIQ Depot Credentials (Online)
Supply both --depot-user and --depot-access-token (or set the DEPOT_USER and
DEPOT_ACCESS_TOKEN environment variables). The CLI will authenticate with CIQ Depot, pull all
required images, and push them to a newly-created ECR in your account. Helm charts are mirrored into
that same ECR as OCI artifacts.
$ fuzzball cluster aws deploy \
  --depot-user <your-depot-username> \
  --depot-access-token <your-depot-access-token> \
  --domain "$DOMAIN" \
  --organization-admin "admin@example.com" \
  --cluster-admin-arns "arn:aws:iam::123456789012:user/fuzzballAdmin" \
  --instance-types "t3a.2xlarge,p3.2xlarge" \
  --non-interactive
Or equivalently with environment variables:
$ export DEPOT_USER=<your-depot-username>

$ export DEPOT_ACCESS_TOKEN=<your-depot-access-token>
$ fuzzball cluster aws deploy \
  --domain "$DOMAIN" \
  --organization-admin "admin@example.com" \
  --cluster-admin-arns "arn:aws:iam::123456789012:user/fuzzballAdmin" \
  --instance-types "t3a.2xlarge,p3.2xlarge" \
  --non-interactive
Option 2: Offline Image Tarballs
For air-gapped deployments, obtain a complete set of container image tarballs from CIQ (one per
image, each named <image>.tar in Docker-archive format), place them in a local directory, and
pass --container-images-dir to the deploy command. The CLI loads each tarball, retags it for your
account's ECR, and pushes it.
$ ls /path/to/offline-images/
aws-pulumi-runner.tar       fuzzball-openapi.tar
fuzzball-admin.tar          fuzzball-orchestrate.tar
fuzzball-audit-archive.tar  fuzzball-substrate-bridge.tar
fuzzball-jetstream.tar      fuzzball-substrate-orchestrate.tar
fuzzball-operator.tar       fuzzball-sync.tar
$ fuzzball cluster aws deploy \
  --container-images-dir /path/to/offline-images \
  --domain "$DOMAIN" \
  --organization-admin "admin@example.com" \
  --cluster-admin-arns "arn:aws:iam::123456789012:user/fuzzballAdmin" \
  --instance-types "t3a.2xlarge,p3.2xlarge" \
  --non-interactive
The --container-images-dir directory supplies only the container images. Helm charts are always
pulled from CIQ Depot, so even in offline image mode you still need Depot access for the chart phase
— run docker login depot.ciq.com first, or pass --depot-user and --depot-access-token.
Optional: Custom Depot Hostname
If you are using a private mirror of CIQ Depot, override the hostname with --depot-host:
$ fuzzball cluster aws deploy \
  --depot-user <user> \
  --depot-access-token <token> \
  --depot-host depot.internal.example.com \
  ...
The --depot-host value must be a bare hostname (e.g., depot.internal.example.com), not a
URL with scheme (e.g., https://depot.internal.example.com). The CLI will reject URLs with a
scheme.
Example: Updating a Non-Marketplace Stack
$ fuzzball cluster aws update \
  --depot-user <user> \
  --depot-access-token <token>
The update targets the Fuzzball version embedded in the CLI you are running — there is no
--version flag. Install the CLI for the version you want before running the command.
If you omit the Depot credentials or image directory, the update fails with an error like:
Error: stack "fuzzball-20260101-120000" was deployed in non-Marketplace mode; updating it requires --depot-user and --depot-access-token (or DEPOT_USER / DEPOT_ACCESS_TOKEN env vars) so the new image versions can be hydrated into the customer ECR. Alternatively, pass --container-images-dir to load container images from local tar files (Helm charts still come from depot).
Account and Region Drift Detection
Non-Marketplace stacks store the deployment account ID and region in CloudFormation parameters
(EngRegistryAccountId, EngRegistryRegion). Before updating, the CLI verifies that your current
AWS session's account and region match the recorded values. If the account differs, the update is
rejected with an error like:
Error: stack "fuzzball-20260101-120000" was deployed against AWS account 123456789012 but the current session is account 987654321098; re-run with the AWS profile used to deploy this stack.
If the region differs, the error names the region to use instead:
Error: stack "fuzzball-20260101-120000" was deployed against AWS region us-west-2 but the current session is region us-east-1; re-run with --region us-west-2.
To fix, point your session back at the original account and region — select the deploying profile
with --profile (and confirm the account with aws sts get-caller-identity), pass --region us-west-2, then re-run the update. This prevents accidental cross-account or cross-region updates
that would attempt to pull images from an ECR in a different account or region, causing image pull
failures.
ECR Repository Management
All customer-owned ECR repositories created by non-Marketplace deployments are tagged with
ciq:product=fuzzball. This tag is used by:
fuzzball cluster aws cleanup --allto discover and remove the repositories when decommissioning Fuzzball from the account- Your own inventory and cost-allocation tooling
The repositories are shared by every Fuzzball deployment in the account — a second deployment
reuses them rather than creating its own. For that reason a deployment-scoped
cleanup --stack-name deliberately leaves them in place; they are only removed by the
region-wide sweep. Run it after deleting your last deployment:
$ fuzzball cluster aws delete --stack-name fuzzball-20260604-150405

$ fuzzball cluster aws cleanup --all
Cleanup Scope
fuzzball cluster aws cleanup is scoped to a single deployment by default, so it is safe to
run when multiple Fuzzball deployments share an AWS account and region. It identifies a
deployment's resources by the stack tag applied by the deployment tooling and the
aws:cloudformation:stack-name tag applied by CloudFormation, plus membership in the deployment's
VPC (for resources created by Kubernetes and for compute nodes). Because these tags persist after
the CloudFormation stack is deleted, a deployment remains selectable for cleanup even when only
orphaned resources remain.
Select the deployment interactively, or pass --stack-name. Pass --all to sweep resources from
every Fuzzball deployment in the region instead (this was the default behavior in previous
releases and it deletes resources from all deployments, active or not).
Three categories of resources are only found by --all:
- Customer-owned ECR repositories, which are shared by every deployment in the account (see ECR Repository Management above)
- Resources from legacy deployments that predate the per-deployment
stacktag - Provisioner-launched compute nodes whose VPC has already been deleted
Troubleshooting
Image Pull Failures During Pulumi Run
Symptom: The Pulumi runner ECS task fails with CannotPullContainerError or pods in the EKS cluster fail to start with ImagePullBackOff.
Cause: One or more images were not successfully hydrated into your ECR, or the EngRegistryAccountId/EngRegistryRegion parameters are incorrect.
Fix:
-
Verify that all images exist in your ECR:
$ aws ecr describe-repositories --query 'repositories[?starts_with(repositoryName, `ciq/`)].repositoryName' --output table -
Check that each repository has images for the deployed version:
$ aws ecr describe-images --repository-name ciq/fuzzball-orchestrate --query 'imageDetails[*].imageTags' --output table -
Re-run the deployment or update with
--depot-userand--depot-access-tokento re-hydrate missing images.
Lifecycle management
Once deployed, the following subcommands let you manage the cluster:
| Subcommand | Description |
|---|---|
update | Update an existing deployment to a new version |
delete | Delete a deployment and all associated AWS resources |
status | Show the CloudFormation stack status and recent events |
info | Show deployment details including cluster URLs and kubectl context commands |
list | List all Fuzzball deployments in the account |
logs | Stream pod logs from the EKS cluster |
cleanup | Remove orphaned AWS resources for a deployment using tag-based discovery (pass --all for the entire region) |
generate-substrate-config | Generate the configuration an external substrate node (for example, one attached over a VPN) needs to join the cluster; the command prints the node-side installation steps. |
Use fuzzball cluster aws <subcommand> --help for the full list of options for each command.
If there are any left-over resources from a previous deployment in your GCP project, they may interfere with your ability to deploy a fresh Fuzzball cluster. Please make sure that all resources from previous deployments have been fully and successfully deleted before initiating a new one. You can use the following command to forcibly remove old Fuzzball resources after destroying your GCP deployment if necessary:
$ fuzzball cluster gcp cleanup
Log in to the OCI registry in your GCP project
To deploy Fuzzball in GCP, you must log in via Helm to the OCI registry that you set up during the Requirements section.
To create an access token and use it to log into the OCI registry via Helm, execute the following command:
$ gcloud auth configure-docker ${REGION}-docker.pkg.dev

$ gcloud auth print-access-token | helm registry login ${REGION}-docker.pkg.dev \
  --username oauth2accesstoken \
  --password-stdin
This token is short-lived (~1 hour). If a deployment takes longer than that, re-run helm registry login with a fresh token. The gcloud auth configure-docker step configures the OCI credential
helper and only needs to be run once.
Once you are logged in, you are ready to deploy Fuzzball!
Deployment
If your Cloud DNS zone resides in a project that differs from the project used to deploy Fuzzball, you will need to follow these steps outlined below.
The simplest way to deploy is using interactive mode.
Include the --dry-run flag to get an idea of what will happen before you actually execute the
command.
$ fuzzball cluster gcp deploy
The CLI will prompt you for all required parameters including the following:
- GCP project
- Region and zone
- Fuzzball version (defaults to the CLI version if omitted)
- Domain name
- Organization owner email
For non-interactive deployments, you can use the following. (See the Requirements section for information on setting these environment variables.)
$ fuzzball cluster gcp deploy \
  --project "$PROJECT_ID" \
  --region "$REGION" \
  --zone "$ZONE" \
  --version "$VERSION" \
  --domain "$SELECTED_DOMAIN" \
  --dns-zone-name "$MANAGED_ZONE" \
  --dns-zone-project "$PROJECT_ID" \
  --keycloak-owner-email "admin@example.com" \
  --deployment-name "unique-name" \
  --instance-types=n1-standard-4,n2-standard-8,g2-standard-8 \
  --non-interactive
For a full list of the options and arguments that can be specified during deployment, use the
fuzzball cluster gcp deploy --help command.
A successful deployment will create a fuzzball cli context for the cluster in
${XDG_CONFIG_HOME:-$HOME/.config}/fuzzball/fuzzball.yaml and print out a basic summary of
the cluster properties including commands to set up kubectl access to the underlying
Kubernetes cluster (see below). You can also obtain similar information later by running
$ fuzzball cluster gcp info --project $PROJECT_ID --region $REGION

 SUCCESS  GCP authentication verified for project 'PROJECT'
 INFO  Searching for Fuzzball deployments to view info for...
 SUCCESS  Found 1 Fuzzball deployment(s):

  1. DEPLOYMENT_NAME (Version: v3-3-0, Region: us-central1, Status: ACTIVE)

 INFO  Using deployment: DEPLOYMENT_NAME

 INFO  Deployment Information

  Deployment:     DEPLOYMENT_NAME
  Project:        PROJECT
  Region:         REGION
  Status:         ACTIVE
  Version:        v3.3.0
  Domain:         DOMAIN
  Created:        2026-04-08t09-20-19z

 INFO  Cluster URLs

  API:            https://api.DOMAIN
  UI:             https://ui.DOMAIN
  Keycloak:       https://auth.DOMAIN

 INFO  Context Configuration

  To connect the Fuzzball CLI to this deployment, run:

    fuzzball context create DEPLOYMENT_NAME \
      --api-url https://api.DOMAIN \
      --auth-url https://auth.DOMAIN

    fuzzball context use DEPLOYMENT_NAME
DNS Zone Project Configuration
By default, the Pulumi runner looks for Cloud DNS zones in the deployment project. If your Cloud DNS zone lives in a different GCP project from the deployment project, you must pass the --dns-zone-project flag during deployment:
$ fuzzball cluster gcp deploy \
  --project "$PROJECT_ID" \
  --region "$REGION" \
  --zone "$ZONE" \
  --version "$VERSION" \
  --domain "$SELECTED_DOMAIN" \
  --dns-zone-name "$MANAGED_ZONE" \
  --dns-zone-project "$DNS_PROJECT_ID" \
  --keycloak-owner-email "admin@example.com" \
  --deployment-name "unique-name" \
  --instance-types=n1-standard-4,n2-standard-8,g2-standard-8 \
  --non-interactive
Replace $DNS_PROJECT_ID with the project ID hosting the Cloud DNS zone. This parameter is required when the DNS zone is managed in a separate project from the Fuzzball deployment.
The --dns-zone-project flag ensures that cert-manager's DNS01 ACME challenge solver can list Cloud DNS zones in the correct project during Let's Encrypt certificate issuance.
Substrate Image Project Configuration
After completing your deployment, if substrate images have been mirrored to a customer-owned GCP project, you must configure the substrateImageProject field in the FuzzballOrchestrate CRD.
This is required for:
- Air-gapped environments that cannot access the CIQ public image project
- Deployments with organizational policies that prohibit external image references
- Environments requiring custom image approval workflows
To configure a custom substrate image project, edit your FuzzballOrchestrate resource:
spec:
  fuzzball:
    orchestrator:
      provisioner:
        enabled: true
        gcp:
          enabled: true
          project: my-gcp-project
          region: us-central1
          zone: us-central1-a
          substrateImageProject: my-mirrored-images-project
Apply the updated configuration:
$ kubectl apply -f fuzzball-orchestrate.yaml
When substrateImageProject is empty or omitted, the provisioner uses the default CIQ public image project.
Managing and Monitoring your cluster
Kubernetes (kubectl)
You can use Kubernetes through the kubectl command to monitor your cluster as it deploys and to
manage the underlying pods and resources. First you need to configure your local kubectl
installation to use your GCP deployment. Issue the following commands:
$ gcloud container clusters list --project=$PROJECT_ID --region=$REGION
This will give you your cluster name. Now you can use it to execute the following:
$ gcloud container clusters get-credentials <cluster-name> --project $PROJECT_ID --region $REGION
You may need to install the gke-gcloud-auth-plugin package and rerun the command above if it
fails.
You now have enough information to proceed to the Initial Configuration section and log in and finish setting your cluster up.
At this point you can also run commands like the following to monitor your deployment and check the health of your cluster:
$ kubectl logs -l app.kubernetes.io/name=fuzzball-operator -n fuzzball-system -f --tail=-1
$ kubectl get pods -n fuzzball
Fuzzball CLI
The fuzzball cluster gcp info or the deployment-info-wait.sh script referenced in the initial
login section display a command to create the
appropriate context to add and log into your cluster along with the credentials needed for the
automatically provisioned users including the cluster admin user. Once you have done so, you can
use the fuzzball command directly to monitor and manage many aspects of your deployment.
For instance, the list, status, info, and logs commands allow you to view information about
your running deployment(s).
And the update, destroy, and cleanup commands allow you to manage your cluster directly.
The generate-substrate-config command generates the configuration an external substrate node
(for example, one attached over a VPN) needs to join the cluster, and prints the node-side
installation steps. It requires the deployment's dynamic provisioner to be enabled.
Use the --help flag in the CLI to list these commands and see information about running each of
them.
If there are any left-over resources from a previous deployment in your Azure subscription, they may interfere with your ability to deploy a fresh Fuzzball cluster. Please make sure that all resources from previous deployments have been fully and successfully deleted before initiating a new one. You can use the following command to forcibly remove old Fuzzball resources after destroying your Azure deployment if necessary:
$ fuzzball cluster azure cleanup
Authenticate to Azure and Depot
The Azure deployment uses the Azure CLI session for control-plane operations, plus your CIQ Depot credentials for pulling Fuzzball container images and Helm charts. Set up both before deploying.
$ az login

$ az account set --subscription "$SUBSCRIPTION_ID"
Capture your Depot credentials in environment variables (these are picked up automatically by the CLI):
$ export DEPOT_USER=<your depot username>

$ export DEPOT_ACCESS_TOKEN=<your depot access token>
By default the Azure deployment creates a private Azure Container Registry (ACR) in the deployment
resource group and copies the Fuzzball images from Depot into it during deployment. If you would
rather have AKS pull images straight from Depot at runtime, pass --use-depot. The ACR path is
recommended for production deployments; --use-depot is convenient for short-lived dev clusters.
Deployment
The simplest way to deploy is using interactive mode.
Include the --dry-run flag to get an idea of what will happen before you actually execute the
command.
$ fuzzball cluster azure deploy
The CLI will prompt you for all required parameters including the following:
- Azure subscription (if you have multiple)
- Azure location (region)
- Resource group (defaults to
fuzzball) - Fuzzball version (defaults to the CLI version if omitted)
- Domain name
- Organization owner email
- DNS provider configuration
For non-interactive deployments, you can use the following. (See the Requirements section for information on setting these environment variables.)
$ fuzzball cluster azure deploy \
  --subscription "$SUBSCRIPTION_ID" \
  --location "$LOCATION" \
  --resource-group "$RESOURCE_GROUP" \
  --version "$VERSION" \
  --domain "$DOMAIN" \
  --keycloak-owner-email "admin@example.com" \
  --instance-types "Standard_D4s_v5,Standard_NC6s_v3" \
  --dns-provider azuredns \
  --dns-azuredns-subscription "$SUBSCRIPTION_ID" \
  --dns-azuredns-resource-group "$DNS_ZONE_RG" \
  --dns-azuredns-zone-name "$DOMAIN" \
  --non-interactive
For a full list of the options and arguments that can be specified during deployment, use the
fuzzball cluster azure deploy --help command.
A successful deployment will create a fuzzball CLI context for the cluster in
${XDG_CONFIG_HOME:-$HOME/.config}/fuzzball/fuzzball.yaml and print out a basic summary of the
cluster properties including commands to set up kubectl access to the underlying AKS cluster
(see below). You can also obtain similar information later by running:
$ fuzzball cluster azure info --subscription $SUBSCRIPTION_ID --resource-group $RESOURCE_GROUP
If you did not pass --keycloak-password and --keycloak-default-user-password, the CLI
generates them for you and prints them only once at the end of a successful deploy. Save them
to a password manager before closing your terminal — they cannot be recovered later.
Managing and Monitoring your cluster
Kubernetes (kubectl)
You can use Kubernetes through the kubectl command to monitor your cluster as it deploys and to
manage the underlying pods and resources. First you need to configure your local kubectl
installation to use your AKS deployment. Issue the following commands:
$ az aks list --resource-group $RESOURCE_GROUP --query "[].name" -o tsv
This will give you your AKS cluster name. Now you can use it to fetch credentials:
$ az aks get-credentials --resource-group $RESOURCE_GROUP --name <cluster-name>
If your deployment uses Azure AD admin group authentication (--azure-ad-admin-group-id), the
first kubectl command may prompt you to complete an interactive Azure AD device login. Subsequent
commands within the same session reuse the cached token.
You now have enough information to proceed to the Initial Configuration section and log in and finish setting your cluster up.
At this point you can also run commands like the following to monitor your deployment and check the health of your cluster:
$ kubectl logs -l app.kubernetes.io/name=fuzzball-operator -n fuzzball-system -f --tail=-1
$ kubectl get pods -n fuzzball
Fuzzball CLI
Once you have created and switched to the Fuzzball context for your cluster, you can use the
fuzzball command directly to monitor and manage many aspects of your deployment. The Azure cloud
subcommand provides the following operations:
fuzzball cluster azure list— list every Fuzzball deployment in the subscription.fuzzball cluster azure status— show health and resource state for a specific deployment.fuzzball cluster azure info— print deployment details (domain, version, endpoints).fuzzball cluster azure logs— fetch operator and orchestrate logs from the AKS cluster.fuzzball cluster azure update— upgrade Fuzzball version or change configuration in place.fuzzball cluster azure destroy— tear down a deployment and delete its resource group.fuzzball cluster azure cleanup— sweep up orphaned resources from a failed or partial destroy.fuzzball cluster azure generate-substrate-config— generate the configuration an external substrate node (for example, one attached over a VPN) needs to join the cluster; the command prints the node-side installation steps. Requires the dynamic provisioner.
Use the --help flag on any of these to see the full flag list.
Support for CoreWeave within Fuzzball is in preview status and is currently subject to more rapid change to address customer requirements than other features of Fuzzball. If you are interested in using Fuzzball on CoreWeave, we recommend contacting CIQ as part of your deployment planning process.
After fulfilling the prerequisites listed in the requirements and discovering your cluster's domain using the domain discovery procedure, you are ready to deploy Fuzzball on CoreWeave.
Step 1: Install the Fuzzball Operator
The Fuzzball operator manages the deployment and lifecycle of Fuzzball on your Kubernetes cluster.
Authenticate with the CIQ Depot
First, use your Depot credentials to authenticate with the Helm registry:
$ DEPOT_USER="your-depot-username"

$ ACCESS_KEY="your-depot-access-key"
Replace your-depot-username and your-depot-access-key with the credentials provided by CIQ.
$ helm registry login depot.ciq.com --username "${DEPOT_USER}" --password "${ACCESS_KEY}"
Install the Operator Helm Chart
Install the Fuzzball operator using the Helm chart from the depot:
$ VERSION="<Version />"

$ CHART="oci://depot.ciq.com/fuzzball/fuzzball-images/helm/fuzzball-operator"

$ STORAGE_CLASS="shared-vast"
$ helm upgrade --install fuzzball-operator "${CHART}" \
  --namespace fuzzball-system \
  --create-namespace \
  --version "${VERSION}" \
  --set "image.tag=${VERSION}" \
  --set "imagePullSecrets.name=repository-ciq-com" \
  --set "imagePullSecrets.inline.registry=depot.ciq.com" \
  --set "imagePullSecrets.inline.username=${DEPOT_USER}" \
  --set "imagePullSecrets.inline.password=${ACCESS_KEY}" \
  --set "storageClassName=${STORAGE_CLASS}"
Verify the Operator Installation
Check that the operator pod is running:
$ kubectl get pods -n fuzzball-system
NAME                                              READY   STATUS    RESTARTS   AGE
fuzzball-operator-controller-manager-xxxxx-xxxxx  2/2     Running   0          2m
Expected output should show the operator pod in Running state with 2/2 containers ready.
Step 2: Deploy Fuzzball with FuzzballOrchestrate
Create a FuzzballOrchestrate custom resource to deploy Fuzzball on CoreWeave. Here's a complete
example configuration:
apiVersion: deployment.ciq.com/v1alpha1
kind: FuzzballOrchestrate
metadata:
  name: fuzzball-coreweave
  namespace: fuzzball-system
spec:
  # Image registry configuration
  image:
    username: <depot-username>
    password: <depot-password>
    exclusive: false

  # Database configuration
  database:
    create:
      enableDebugPod: false
      storage:
        class: shared-vast

  # Fuzzball version and cluster configuration
  fuzzball:
    version: <Version />
    cluster:
      name: fuzzball-coreweave

    # CoreWeave provisioner configuration
    orchestrator:
      provisioner:
        enabled: true
        coreweave:
          enabled: true
          storage:
            accessMode: ReadWriteMany
            class: shared-vast
            size: 100Gi  # Adjust based on workflow needs

    # Shared container image cache
    config:
      sharedPVC:
        accessMode: ReadWriteMany
        class: shared-vast
        size: 10Gi  # Adjust based on caching needs

  # Ingress and networking configuration
  ingress:
    create:
      # Use your discovered CoreWeave domain
      domain: <YOUR_COREWEAVE_DOMAIN>
      proxy:
        type: LoadBalancer
        annotations:
          # Public LoadBalancer for internet access
          service.beta.kubernetes.io/coreweave-load-balancer-type: public
          # Wildcard DNS for all services
          service.beta.kubernetes.io/external-hostname: '*.<YOUR_COREWEAVE_DOMAIN>'

  # Keycloak identity management
  keycloak:
    create:
      createDatabase: true
      # Generate with: uuidgen
      realmId: <uuid-v4-realm-id>
      ownerEmail: <owner-email>
      # Change this password after first login!
      defaultUserPassword: <initial-user-password>

  # TLS certificate configuration
  tls:
    # cert-manager for certificate management
    certManager:
      create: {}
    # trust-manager for CA certificate distribution
    trustManager:
      create: {}
    # Let's Encrypt certificate issuer
    ingressIssuer:
      create:
        letsEncrypt:
          email: <letsencrypt-email>
          issuer: letsencrypt-prod
Replace the placeholder values with your configuration. Use the domain discovered in the domain discovery procedure.
For detailed explanations of these configuration options and additional settings, see the CRD reference material.
If your cluster already has cert-manager installed, you can configure Fuzzball to use it instead of deploying a new instance. See Deploying with External cert-manager for details.
Apply the Configuration
Save the configuration to a file and apply it with kubectl:
$ kubectl apply -f fuzzball-orchestrate-coreweave.yaml
Monitor Deployment Progress
Watch the deployment status:
$ kubectl get fuzzballorchestrate -A -w
Wait until the status shows Ready. This typically takes several minutes for a full deployment.
Verify Deployment Components
Check the deployed resources:
$ kubectl get fuzzballorchestrate -A

$ kubectl get pvc -n fuzzball

$ kubectl get pods -n fuzzball
For detailed deployment status and troubleshooting, check the operator logs:
$ kubectl logs -l control-plane=fuzzball-operator-controller-manager -n fuzzball-system -f
Alternative Deployment Pattern: Static Provisioning
The deployment steps above configure dynamic provisioning, where Fuzzball creates and destroys CoreWeave nodes on-demand. If you prefer to manage node pools yourself for predictable capacity or faster startup times, see Static Node Pool Provisioning for an alternative deployment approach.
After you complete your deployment, you can proceed to the Initial Configuration section to get your cluster ready to run workflows!